Not all events are equal. In fact it is rare when an event simply sells one type of ticket. There are often varying ticket prices (adults, children, seniors for example) or additional products or ‘bolt ons’ that can be added to the event.
What I am going to show you, is how to use Event Espresso to sell various types of tickets, in various quantities via one event.
What you will need:
- An Event Espresso Business or Developer licence
- Event Espresso
- Multiple Event Registration add on
- A little bit of time.
Let’s get started
First off make sure that both the Event Espresso core plugin and the Multiple Event Registration add on are activated.
We will start of with a brand new event, but you can easily edit an existing one to do this as well.
Once you have the event editing screen loaded, fill out the basics: title, description, registration and event dates.
 In the price section fill out a basic ticket price. In this example I will use Adult as the base ticket.
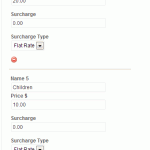
Then click Add A Price – this will bring up more fields for extra prices.
Fill out the next one, I will use Child here.
Then keep generating prices and filling them out until you have the number you need. I will just add Seniors and be done there.
On the right, change the Allow group registrations? to Yes, and below that add a number to Max Group Registrants. This number will be the maximum number of tickets one person can buy in one go. It is important to set a number here as it cannot be unlimited, but you can make it as high as you like. I am going to select 10.
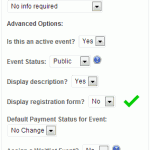
In order to make sure that the customer has access to the extra tickets, we need to turn off the registration form on the event page, and add an Add to Cart link, so that the user uses the Multiple Event Registration functionality.
 So, on the right where it says Display registration form?, set it to No.
Ok, one more thing here, we need to add that link, otherwise the registration page wont lead anywhere and it could cause confusion and potential lost sales.
We will use the [ESPRESSO_CART_LINK] shortcode, but it needs to be tweaked a little to make it look good, so we will use this version:
[ESPRESSO_CART_LINK anchor="Register for this Event" direct_to_cart=1 moving_to_cart="Redirecting to cart..."]
What this does is to change the default link text to “Register for this event” and on click sends the user to the shopping cart. If you just want to change the link text but not redirect the customer, then use this [ESPRESSO_CART_LINK anchor="Register for this Event"]
Ok, so now we have everything we need, we just need to make sure that the rest of the event is in order – questions, member prices, emails, etc. Once its to your satisfaction, click Submit New Event.
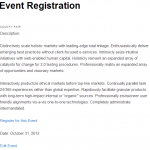
Go and check out your event. Of course if you are looking at the Event List you will see the add to cart button, courtesy of the Multiple Event Registration add on, but if you select the event to read it rather than add it to cart you will see that the registration form has gone and in its place is an awesome add to cart button.
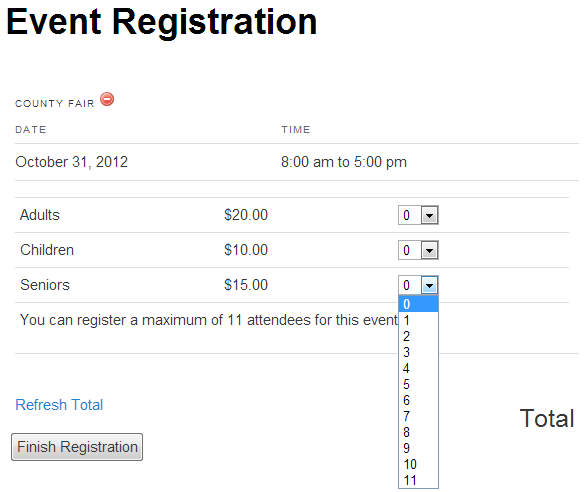
Clicking that will add it to cart and send you directly there (or not, see above) and you will see that the customer can now select various quantities of each ticket type up to the maximum ticket allowance you set.

